
Painting Hardie Board vs Wood Siding? The Prep Difference That Decides How Long It Lasts
Quick Answer: Hardie board (fiber cement) and wood siding both need a clean, dry, sound surface before paint goes on, but the similarities mostly end there. Fiber cement usually arrives factory-primed, so prep centers on confirming the surface is still within its paint-ready window, spot-priming any weathered or repaired sections, and sealing field-cut edges and fastener heads that the factory finish never touched. Wood siding has no factory protection to lean on: prep means scraping and feather-sanding any paint that has lost its bond, checking the wood's actual moisture content rather than trusting how it looks, and spot-priming bare and sanded areas the same day they're exposed. Treat both the same way and one of them, usually the wood, fails first.
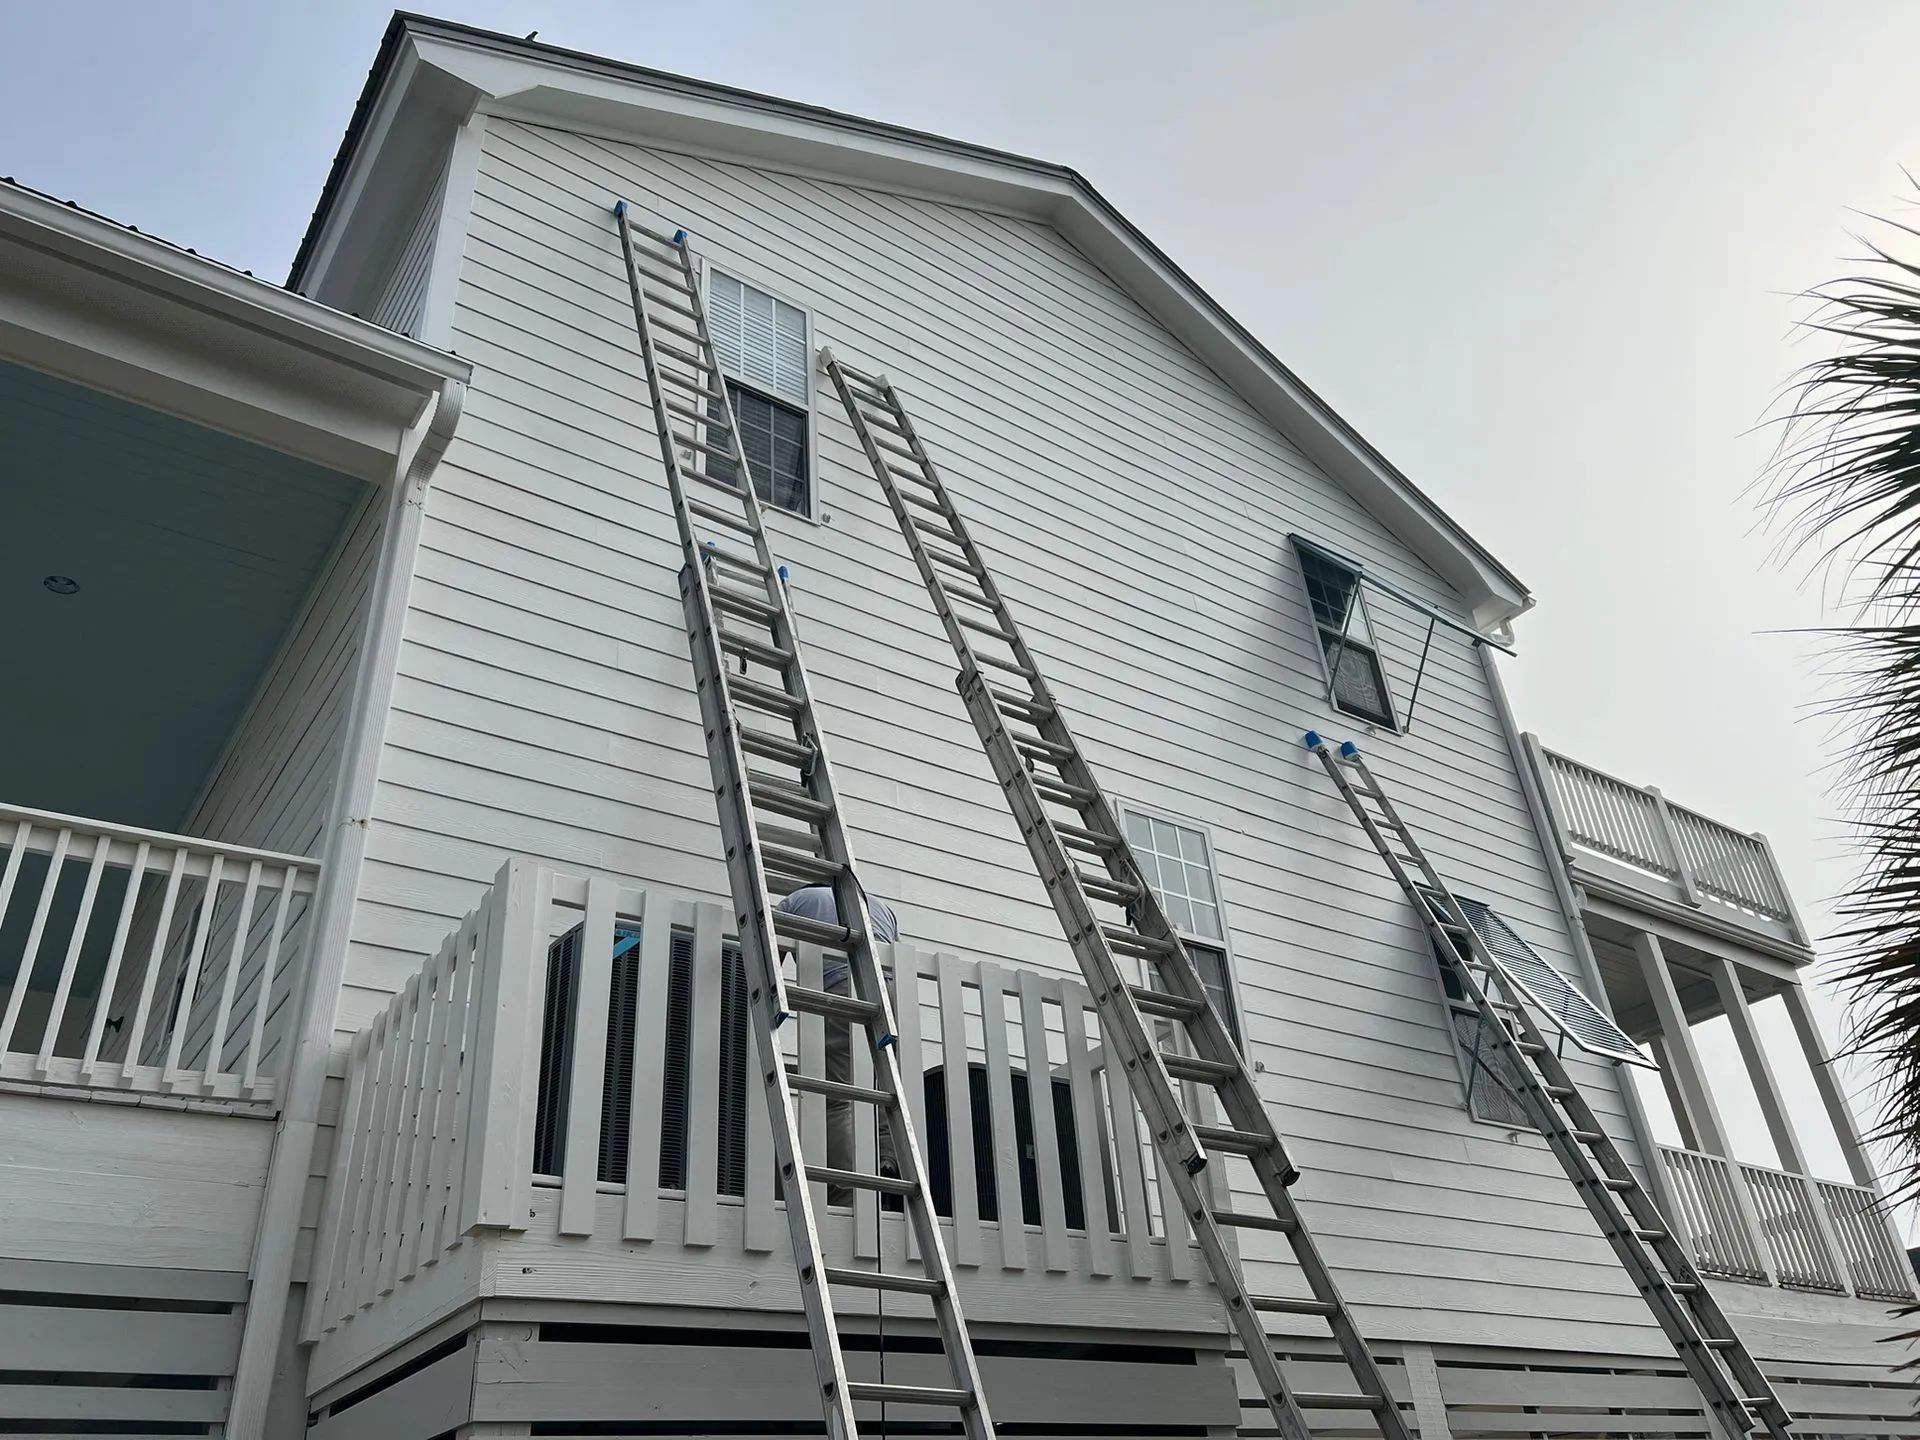
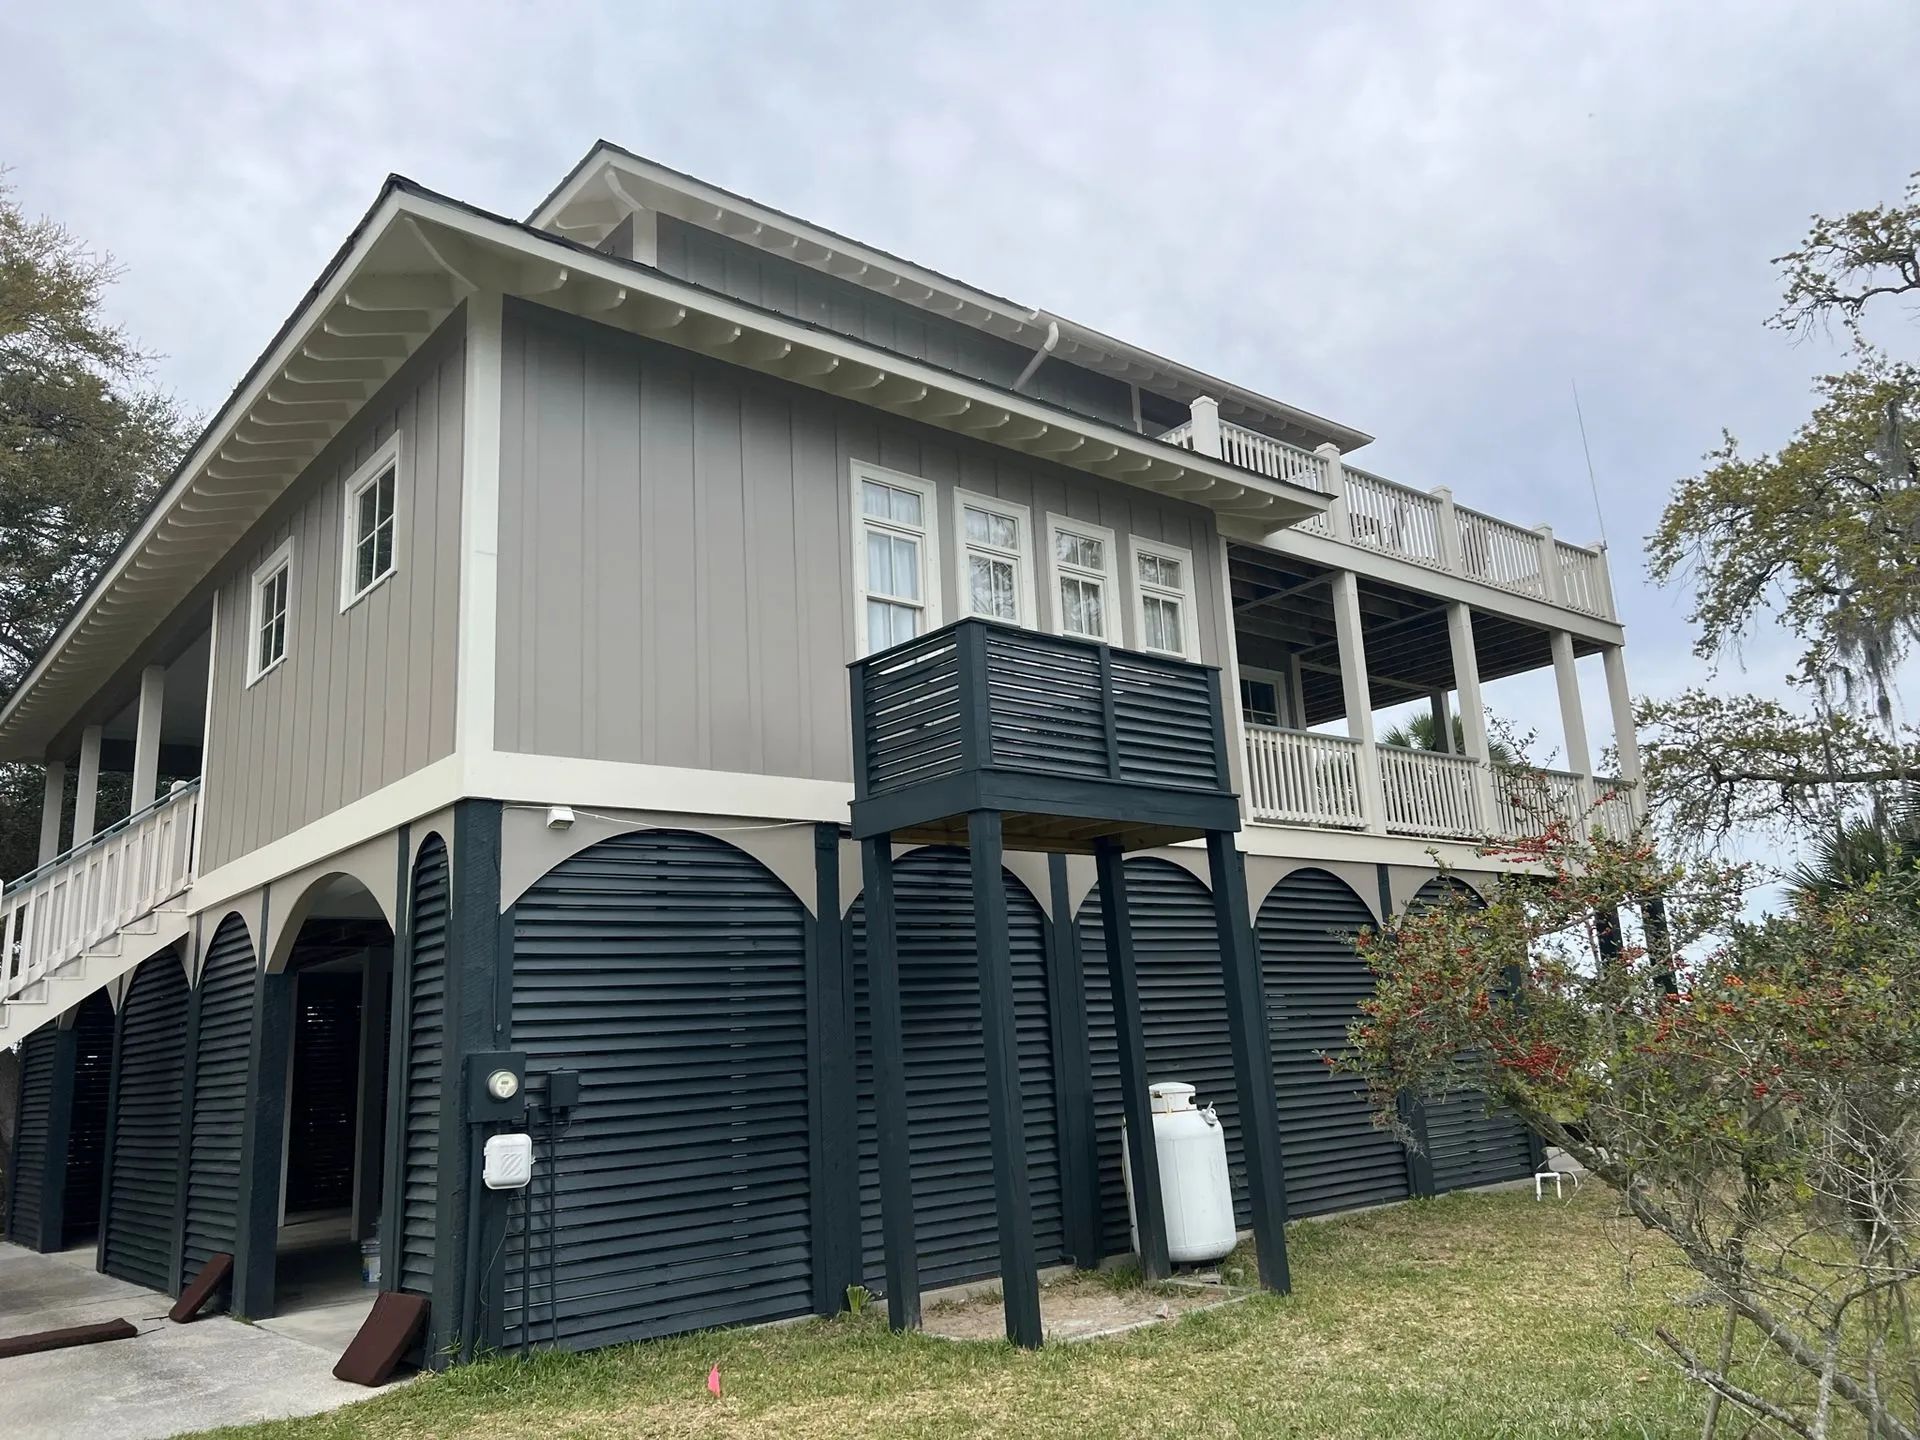
You've got a house with a Hardie board addition sitting next to the original wood siding on the older section, and the paint estimate treats it as one job with one prep list. That's the moment worth slowing down for. A crew that power washes both surfaces, waits a day, scrapes what's loose, and primes bare spots the same way on each material isn't being thorough. It's applying a wood-siding routine to a material that behaves nothing like wood, or applying a fiber-cement shortcut to a material that will punish it within a season.
Fiber cement and wood siding fail for different reasons, and the prep that prevents each failure looks different too. Understanding what each material actually needs before a brush or sprayer touches it is what separates a paint job that holds up through a few Lowcountry hurricane seasons from one that starts showing trouble at the seams within a year.
Two Materials That Only Look Similar From the Curb
Wood is porous; fiber cement isn't
Wood siding is organic material that absorbs and releases moisture constantly, expanding and contracting with humidity swings and holding water inside the board even when the surface looks dry. Fiber cement is a manufactured composite of cement, sand, and cellulose fibers, cured to be dimensionally stable and largely indifferent to the kind of moisture cycling that makes wood swell, cup, and eventually rot.
One arrives with a factory finish; the other doesn't
Most Hardie board ships either pre-finished with a baked-on factory color or primed and ready for a field-applied topcoat. Wood siding, cedar and other species alike, typically arrives bare or with a job-site prime coat at best, meaning every surface starts as a blank slate that depends entirely on what the painting crew does to it.
They fail at different points
Wood siding fails broadly across the field of the board: failing paint lifts off the grain, moisture trapped underneath blisters the film, and rot sets in wherever water has repeatedly gotten past a compromised coating. Fiber cement resists that kind of field failure, but it's vulnerable at the edges. Field-cut ends, fastener heads, and butt joints are where the factory protection stops and where moisture can wick into the board if those spots aren't sealed.
Running one prep checklist across both ignores what's actually different about how each material takes on damage, and the two paths for getting it right barely overlap.
What Fiber Cement Prep Actually Requires
Confirm whether the factory finish is still doing its job
Primed fiber cement is meant to receive its field topcoat within a window the manufacturer specifies after installation, commonly around 90 days. Inside that window on clean, dry board, a full primer coat usually isn't necessary. Once a board has weathered past that window, has been previously painted, or shows chalking, that "already primed" assumption stops applying and the surface needs to be treated like any other repaint.
Spot-prime the areas the factory finish never covered
Repaired sections, patched areas, and anywhere the surface has chalked or dulled from UV exposure need spot priming before the topcoat goes on, even on siding that's technically still primed elsewhere. Skipping this because "it's Hardie, it's already primed" is one of the more common shortcuts that shows up as a blotchy, unevenly bonded finish within a couple of years.
Seal every field-cut edge and fastener head
Cutting fiber cement board on-site exposes raw material that the factory coating never touched, and that cut edge is where moisture has the clearest path into the board. The same goes for fastener heads on any panel product that's face-nailed rather than blind-nailed behind the course above it. Every cut edge and exposed nail head needs to be primed, caulked, or touch-up coated before the finish coat goes on, not treated as a cosmetic afterthought.
Match the paint chemistry to what's already there
Factory-finished fiber cement carries a baked-on coating that cures differently than a field-applied, air-dried paint. Touch-up product formulated to match that factory finish behaves differently than standard exterior paint applied by brush or sprayer, and mixing the two carelessly, particularly using touch-up paint as a substitute for properly priming and topcoating a larger repainted area, tends to age at a visibly different rate than the surrounding board.
Leave the drainage details alone
Certain joints in fiber cement systems, including the bottom edge of lap siding and the reveal gaps on shiplap-style panels, are engineered to let water drain or escape rather than get sealed shut. Caulking those spots to "finish the look" traps moisture behind the siding instead of keeping it out.
What Wood Siding Prep Actually Requires
Check moisture content before anything else touches the wood
Wood siding can look completely dry on the surface while still holding significant moisture below it, especially after washing, recent rain, or in shaded, north-facing sections that don't get direct sun to help them dry. A moisture meter reading, generally targeting somewhere below the low-to-mid teens as a percentage before priming, is a more reliable readiness signal than how the board looks or feels on top.
Scrape failing paint back to a sound edge, then feather-sand the transition
Any paint that's no longer firmly bonded needs to come off, worked with the grain so the wood fibers underneath aren't gouged in the process. The edges where old paint meets bare wood then get sanded smooth so the new coat doesn't telegraph a visible ridge where the two layers meet. This is manual, surface-by-surface work that fiber cement's factory finish mostly makes unnecessary.
Spot-prime bare and sanded wood the same day it's exposed
Once wood is scraped, sanded, or freshly cut, it starts absorbing ambient moisture again almost immediately. Leaving bare wood unprimed overnight, especially in a humid coastal climate, gives it another chance to pull in water before the primer coat can seal it, undoing some of the drying time already invested.
Watch for tannin bleed on species prone to it
Cedar and some other wood species carry natural tannins that can rise through a fresh coat and leave yellow or brownish staining on the surface, particularly around knots and previously stained sections. A stain-blocking primer on bare wood and known problem areas heads this off before it shows up in the finish coat rather than after.
Replace what's actually damaged instead of coating over it Soft, cracked, or rotted boards don't become sound again under a coat of paint. Wood that's structurally compromised needs to be replaced before priming starts, since painting over damage only hides the problem until it reappears, usually as peeling paint tracing the exact outline of the rot underneath.
The Mistake That Shortens a Fiber Cement Job Specifically
WARNING: Treating fiber cement as maintenance-free at the edges is one of the fastest ways to shorten a Hardie board repaint. The field of the board resists moisture well, which leads some crews and homeowners to assume the whole surface is equally protected. It isn't. A field-cut edge on a trimmed piece, a fastener head left bare after a repair, or a joint that got missed during installation gives water a direct path into material that has no factory coating at that specific spot. Once moisture gets in through an unsealed edge, the surrounding paint can bubble, discolor, or lift in a way that looks like a coating failure but is actually a sealing failure at one small point that was never protected in the first place. On a coastal property where wind-driven rain and salt-laden air keep surfaces damp longer than they would inland, an unsealed edge has more opportunity to cause damage over the life of the paint job, not less.
That distinction matters because the fix for a field failure on wood, more scraping and a better primer, doesn't apply to an edge failure on fiber cement. The fix there is sealing the specific point that was missed.
A Simple Way to Check Readiness Before Painting Either Material
Moisture is the common thread behind most premature failures on both materials, even though it shows up differently once paint is on the wall. Before committing to a start date, there's a low-tech way to check whether a surface, wood or fiber cement, has actually finished releasing the moisture it picked up from washing, rain, or ambient humidity.
TIP: Tape a small square of clear plastic sheeting to the surface, sealed tight on all four edges, and leave it overnight. If moisture has beaded up on the underside of the plastic by morning, the substrate underneath is still releasing water vapor and isn't ready for primer, regardless of how dry the surface feels to a bare hand. This works on both materials because it measures what's coming out of the substrate rather than relying on touch or appearance, which can be misleading on a humid coastal morning when dew and residual dampness look nearly identical to a fully dry wall.
How a Professional Crew Adapts Prep to the Material
The prep sequence gets planned by wall, not by house. A property with mixed siding, fiber cement on one addition and original wood on another section, gets treated as two separate prep plans running in parallel rather than one generic routine applied across every elevation.
Cut edges and fastener heads get inspected as a distinct checklist item on fiber cement. Rather than folding edge sealing into general cleaning, a crew working on Hardie board walks the trim lines, corners, and any panel seams specifically looking for exposed cuts and bare fastener heads before the topcoat goes on.
Moisture testing replaces guesswork on wood. Instead of estimating dry time from how long it's been since the last rain, a crew working on wood siding checks actual readings at multiple points, prioritizing shaded and north-facing sections that dry slower than sun-exposed walls on the same house.
Product selection follows the substrate, not a single default. The primer and topcoat combination that performs well on fiber cement isn't automatically the right match for bare or previously painted wood, and a crew that understands the difference specs each material separately.
Drainage details get respected on fiber cement even when it slows the caulking down.
Knowing which joints are designed to let water escape, and leaving those alone while sealing the ones that actually need it, is what keeps trapped moisture from becoming a bigger problem than the gap it was meant to fix.
Frequently Asked Questions
Does Hardie board need to be primed before painting?
Factory-primed Hardie board installed and painted within the manufacturer's recommended window often doesn't need a full primer coat if it's clean and dry. Weathered, previously painted, repaired, or chalky sections do need spot priming, and that requirement applies regardless of how the rest of the wall was originally finished.
How do you know if wood siding is dry enough to paint?
Surface appearance isn't a reliable indicator. A moisture meter reading, checked at multiple points including shaded and lower sections of the wall, gives a more accurate answer than how the wood looks or feels after a day or two without rain.
Why does fiber cement siding fail at the edges instead of across the whole wall?
The factory finish or primer on fiber cement protects the face of the board, but field cuts, fastener heads, and some joints expose raw material that finish never reached. Moisture entering through one of those unsealed points can cause localized paint failure even while the rest of the wall's coating is holding up fine.
Can you use the same primer on Hardie board and wood siding?
Not necessarily. Wood, especially species prone to tannin bleed, often needs a stain-blocking primer that fiber cement doesn't require, while fiber cement's touch-up and finish products are formulated to work with its factory coating in a way standard wood primers aren't matched to.
Does salt air affect Hardie board and wood siding differently?
Yes. Salt-laden coastal air is hygroscopic and keeps surfaces damp longer than the general humidity would suggest on both materials, but wood responds by holding that moisture inside the fibers, which raises rot risk over time, while fiber cement mainly reacts at unsealed cut edges and fastener points rather than across the field of the board.
Do rotted wood boards need to be replaced before painting, or can they be patched and painted over?
Soft, cracked, or rotted wood should be replaced rather than filled and painted over. A coating applied over compromised wood doesn't stop the underlying damage, and the paint typically fails again in the same spot as the rot continues underneath it.
Why Material Knowledge Makes All the Difference
Getting the prep right is an investment that pays off for years to come. A crew understanding why fiber cement fails at edges, or why wood needs actual moisture readings, delivers work that holds through year five while shortcuts peel at the seams. Preferred Quality Painting, LLCC has spent 40 years working exterior siding in Lexington, Kentucky. The difference between a job that lasts and one that fails traces back to prep decisions made before primer went on the wall.
Understanding the material difference is the foundation of lasting work. When a crew knows that a mixed-siding house needs two separate prep plans instead of one routine, the homeowner gets a paint job designed for what each surface actually is, not one that shortchanges a material to save time. That attention to what fiber cement and wood each require is what separates a repaint failing at year three from one that still looks right in year seven and beyond.