
6 Key Steps In The Professional Wallpaper Removal Process
Wallpaper adds style to walls, but over time, designs fade, colors age, and homeowners often look for a new start. While removing wallpaper might seem simple, it can quickly turn into a frustrating task when done without the right process. Professional wallpaper removal uses proven steps that protect the wall surface, reduce mess, and prepare the area for fresh paint or new décor.
By following a structured method, professionals ensure smooth results and leave walls in excellent condition for the next stage of design. Understanding these steps helps you see why hiring experts makes the process more effective and stress-free.
Step 1: Preparing the Room Properly
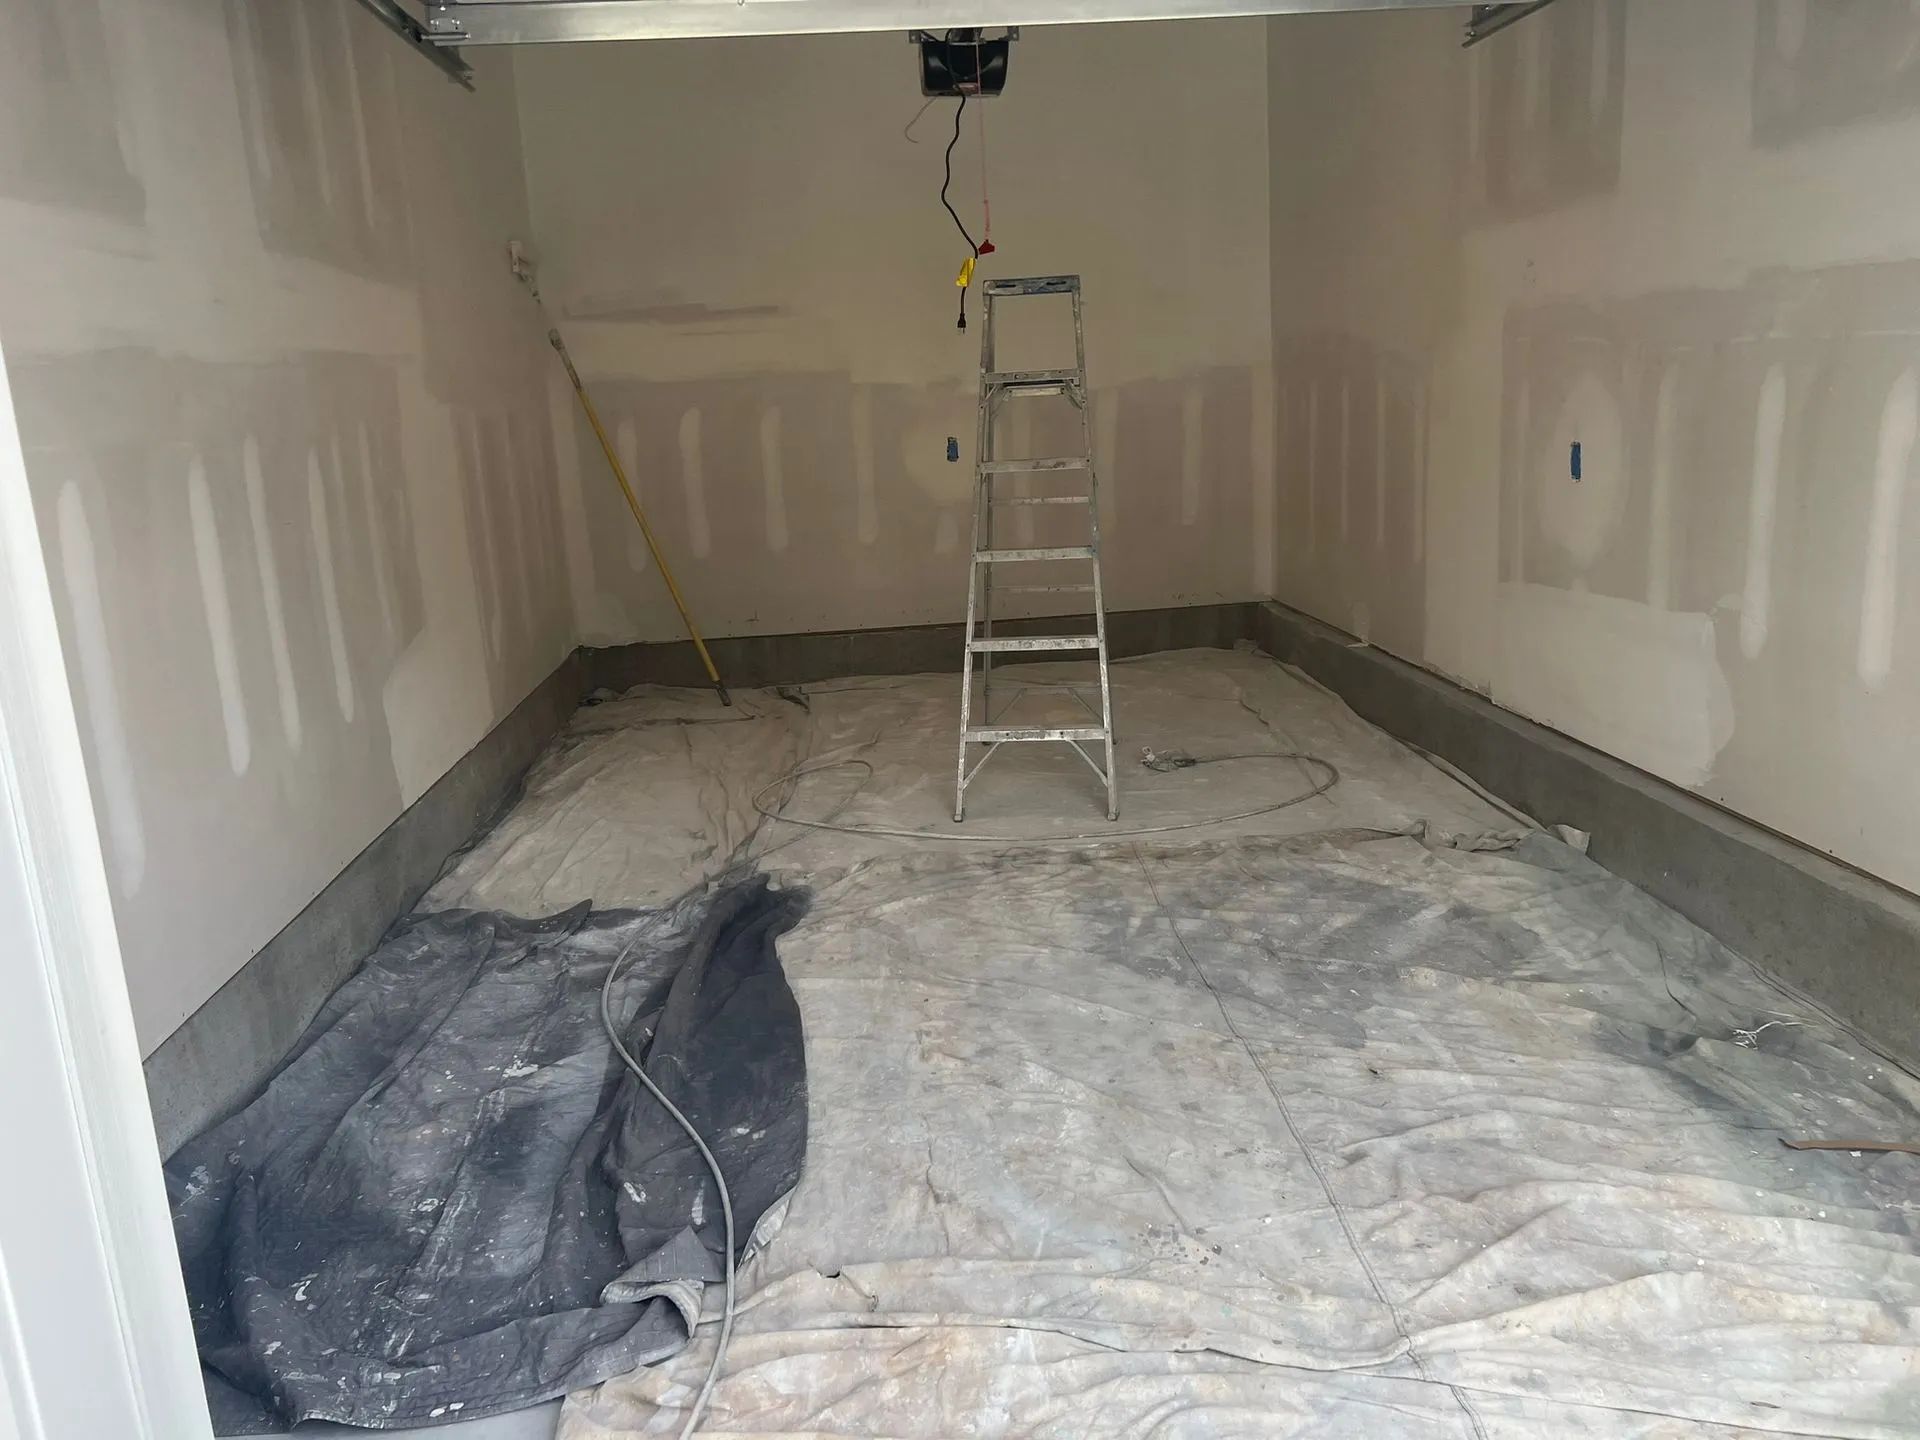
Every successful project begins with preparation. Professionals start by moving furniture away from walls, covering floors with protective sheets, and securing outlets or switches. This stage prevents damage to furniture, keeps dust or debris under control, and makes it easier to move around during the removal process. Proper preparation creates a clean work area where focus stays on the walls without unnecessary interruptions.
Step 2: Scoring the Wallpaper Surface
Before applying any solution, the wallpaper surface must be scored. Special tools create tiny holes across the paper without harming the wall beneath. These small openings allow water or removal solutions to penetrate the adhesive more effectively. Scoring ensures that the next step works evenly across the entire surface, which makes the actual removal smoother and less time-consuming.
Step 3: Applying the Removal Solution
Professionals then apply a removal solution, often a mix of warm water and special agents, to soften the adhesive. This solution seeps through the scored wallpaper and begins loosening the bond between the paper and the drywall. Allowing enough time for the solution to soak ensures the adhesive weakens completely, making it easier to lift large sections of wallpaper without tearing.
Step 4: Peeling the Wallpaper Carefully
Once the adhesive loosens, the wallpaper can be peeled away. Professionals work slowly to remove large sections at a steady angle, reducing the risk of damaging the wall surface. Stubborn areas may require additional solution or gentle scraping, but steady technique keeps the process under control. The goal during this stage is to clear the walls as fully as possible while protecting the drywall underneath.
Step 5: Removing Leftover Adhesive
Even after wallpaper comes off, leftover adhesive often remains on the wall. Professionals scrub or wash these areas carefully until every trace is gone. If adhesive stays behind, new paint or wallpaper may not stick properly, leading to peeling or bubbling later. Complete removal of adhesive ensures that the wall is ready for the next stage of design without any hidden issues.
Step 6: Cleaning and Preparing the Wall for New Finishes
The final step involves cleaning and smoothing the wall surface. Professionals repair small imperfections, sand rough spots, and make sure the wall feels even to the touch. At this stage, the surface is ready for a fresh coat of paint or new wallpaper. Proper preparation ensures that whatever comes next will look seamless and last longer.
Conclusion
When done correctly, wallpaper removal protects your walls and prepares them for a flawless finish. For professional service that follows each step with care, Preferred Quality Painting, LLC
provides
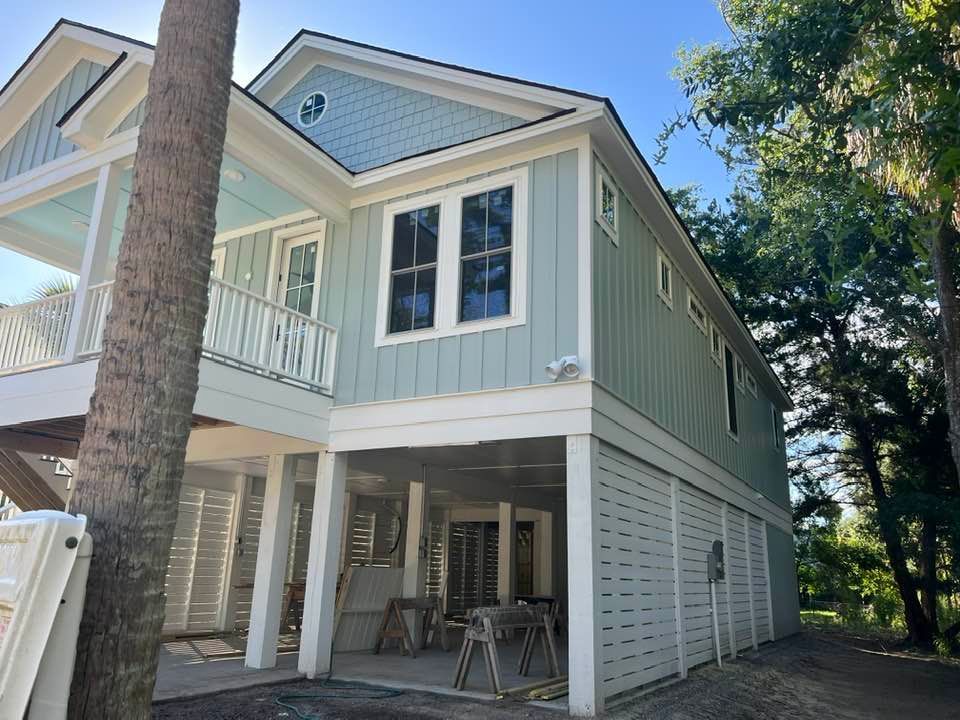
expert wallpaper removal and interior painting in Edisto Island, South Carolina, ensuring homes look refreshed and ready for a new design.